This Will Also Test if Python is Working Correctly

In the previous installment in this Cooking with Python and KBpedia series, we installed Python via the Anaconda distro and package manager. The GUI portion of that package, Anaconda Navigator, was part of that install. In this current CWPK installment we will use Navigator to launch the Jupyter electronic notebook, and then write a simple program to demonstrate that our Python installation is installed properly and working. In the installment after this one, we will next install a Python IDE using the command line to demonstrate the second way we can interact with this package.
Though there are a variety of electronic notebooks that may work with Python, we have chosen Jupyter (nee iPython) because it is the oldest of Python notebooks, the most used, and the most capable. Like all of the packages we utilize in this CWPK series, the Jupyter notebook is open source. Two supplementary sources to this article are the Jupyter instructions on KDnuggets and or installing and testing the notebook.
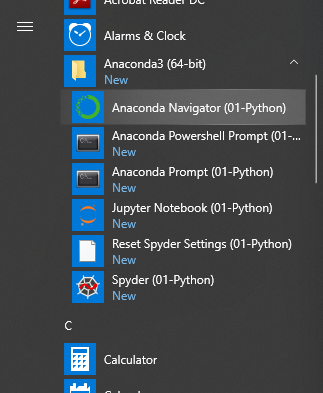
We can launch Navigator either via the command line or directly from the application. We use the direct approach in this installment. We start Anaconda Navigator via the Windows Start button, and then expand the listing for Anaconda3 and pick Anaconda Navigator from the menu:

(Alternatively, you could pick ‘Anaconda Prompt’ from this menu and type the command anaconda-navigator.)
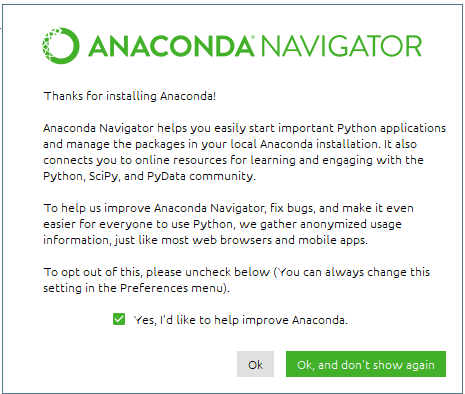
The first time you start Navigator, you will see a splash screen introducing the app and asking if you would be willing to share usage data. I picked Yes and then OK, and don’t show again:

We will thus not see this screen again at start-up.
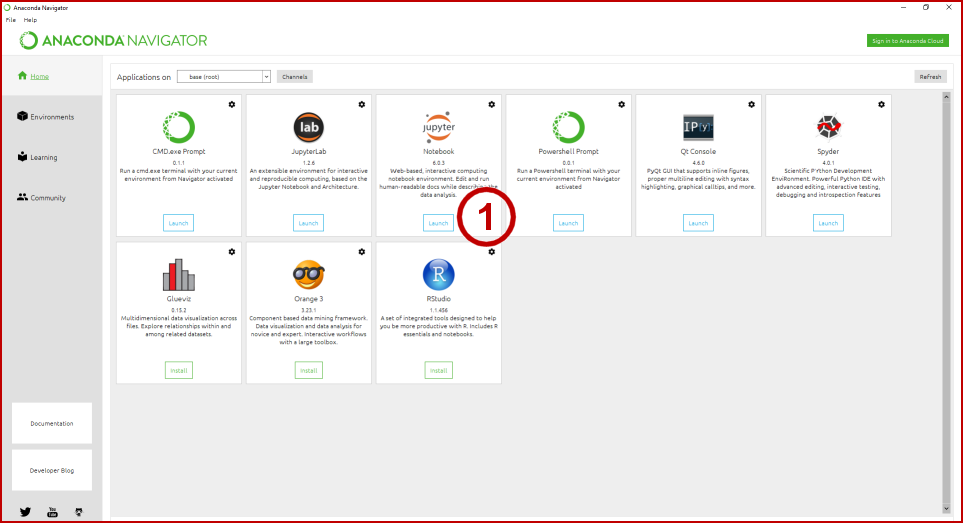
When invoked, we get this main (Home) launch screen for the Navigator:

We pick the Jupyter Notebook (1) from this list.
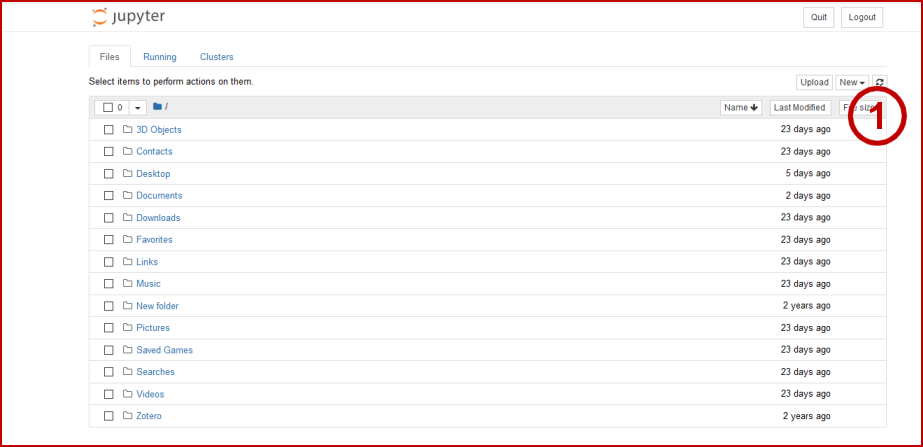
This launch then brings up a new Web page for the Jupyter Notebook application, as shown in Figure 4 below. (Note: if this step works, that means your Python installation from CWPK #9 is working properly.) Jupyter notebooks are presented as interactive HTML pages. This initial entry page is set by default to your user Web page. (We will later discuss how to set this to a different location.) The convention for Jupyter notebook files is *.ipynb. To start a new notebook, pick the dropdown menu labeled ‘New’ (1) at the upper right of this screen. You may then create a new Notebook with the Python version you installed:

Here is the new starting Notebook entry screen:

You may then rename your Notebook by clicking on a current name and editing it or by finding a name under File (3) in the top menu bar.
Now, in this simple example, we enter the statement (2) of print(“Hello KBpedia!”). That statement gets evaluated in real time (via the REPL loop previously mentioned) by pressing the Run button (1) into the result of ‘Hello KBpedia!’ [shown at bottom of (2)].
When done with this application, you exit by going to File at the upper left (3) and picking Close and Halt. That will return you to the main screen of Anaconda Navigator, where you may File → Quit to back you out of all programs. Should there be any open applications, you have the choice to close them as well at that time.
We will be working with Jupyter much throughout this CWPK series, and will thus have many opportunities to see other aspects of working with these notebooks. If you wish to learn more about notebooks, here are some resources:
- Jupyter notebook for beginners
- Jupyter notebook documentation
- Interactive notebook widgets and ipywidgets
- Best of Jupyter for Data Science
- JupyterLab is the next-generation user interface for Jupyter.


